How to Put On a Human Hair Wig ?
When you receive your new Human Hair Wig, it's already pre-styled and practically ready to wear out of the box. With a little shake and fluff, you can have your wig looking ready to wear in just a few minutes.

My wig is inside out! Why is that?
Because of the various types of styles, there are different packaging methods used to preserve each style. For instance, when you open the box, you may notice that your wig is packaged inside out. This is done to preserve the style’s open, airy appearance. There are other common packaging methods, such as tucked, folded, inside out, and upside down, where the wig is folded a certain way, or placed on its side. Each method is designed to preserve the wig’s style.
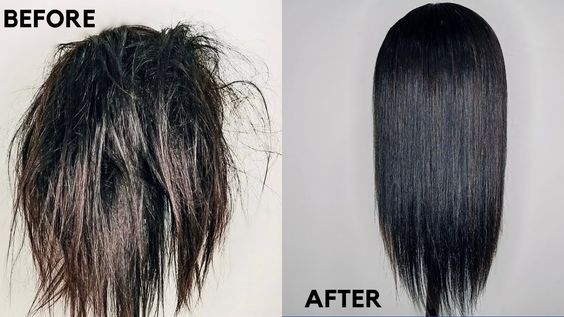
Now that you understand why wigs are packaged in different ways, let’s take a look at what you should do once you take the wig out of the box. First, cup your hands inside the wig and shake it to loosen the fibers. If your wig is styled in ringlet curls, use your fingers or a pic comb. If your wig is a straight style, you can use a wig brush to gently brush through the wig. Never use a regular brush on a wig! It’s important to only use styling tools that are designed specifically for wigs, otherwise you will risk damaging the wig. As you fluff your wig with either your fingers, a pic comb, or wig brush, you will notice the wig will begin to look fuller and take on the appearance of the style you ordered.
Preparing Your Natural Hair
Before you put on your wig, you will first need to prepare your hair. If you have little or no hair, you will need to use a wig liner to help keep your wig secure. If you have short hair, simply brush it back, away from your face. For longer hair, pin it up by making flat pin curls out of sections of your hair or baird the hair to weave. Keep them distributed evenly over your head to avoid bumps and bulges.
However, wig liners are still recommended for those with hair and can be used to secure all lengths of hair.
Putting your wig on
Now it’s time to put your wig on your head. Follow these easy steps to put on your wig:
STEP 1
Using both hands, hold the wig by the nape where the label is. Tilt your head slightly forward. You will be putting the wig on in a front to back motion.

STEP 2
Position the front of the wig above your eyebrows, and slip the wig on like you would a bathing cap. Move the wig in a front-to-back motion to place it correctly on your head.

STEP 3
Push the front of the wig back until it rests slightly below your natural hairline. Center the wig by positioning the ear tabs on both sides in front of your ears, never covering them. When the wig feels comfortable, tuck in any stray hairs.

If the wig feels tight or too loose, use the adjustable straps located in the back of the wig to fit the wig to your head. You can adjust the circumference of the wig up to ½” on each side for comfort.
Special Case: Lace Front Wigs
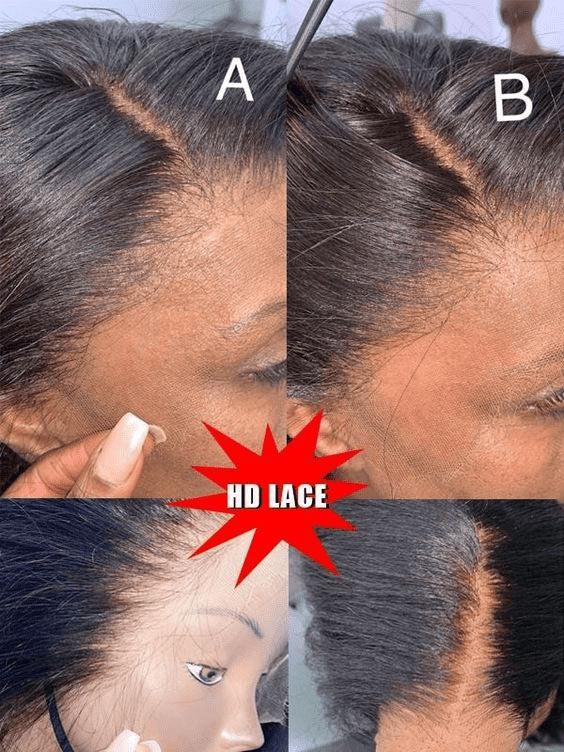
If you’ve purchased a lace front wig, you will want to take extra precaution as you fit the wig on your head. A lace front wig cap is designed for off-the-face hair styling, which often reveals the front hairline. You must take special care to avoid damaging the delicate, ultra-fine monofilament fabric at the front of the wig cap when fitting the wig to your head. To apply, place the front of the wig above your eyebrows. Avoid bending or folding at the front hairline. Once the cap is fully covering your head, avoid stretching the delicate lace monofilament at the front hairline when making your final positioning of the cap.

Once you have the wig in place, you can style it as you desire. Remember to only use wig styling tools and products, including hair spray and mousse, that’s made specifically for wigs. Products made for natural hair instead of wigs can damage your new purchase. Taking proper care of your wig is important in order to keep it looking great longer.
Read More
How To Install A Lace Front Wig Without Glue


















Hinterlassen Sie einen Kommentar